


Story
Starlight Brigade follows the Officer of the Deck (OOD) Orin Gelfrin, during the twilight hours of humanity, you (playing as Orin) serve under Captain Kasper Lee Harrington. As the OOD, the crew of the Light Cruiser, the Wayfarer, relies on you to keep them safe and on track on their perilous journey. While you are to take his commands and turn them into action, you are also in command of the ship, serving as the representative of the captain. The captain will rely on you to ensure the ship makes it safely to and from port, combat, and more.
Following the Captain's demotion, due to an Article 133 charge against him, you are assigned to his new crew of mostly green, fresh recruits. The Wayfarer of the Rostron Class, despite being a designated for decommissioning, destined for scrapping, was to be your first real command as a lieutenant. After months of refitting, the Wayfarer was finally ready for her shakedown cruise. The engineers on board promised the repairs and upgrades would improve her combat abilities and bring her more inline with a modern warship.
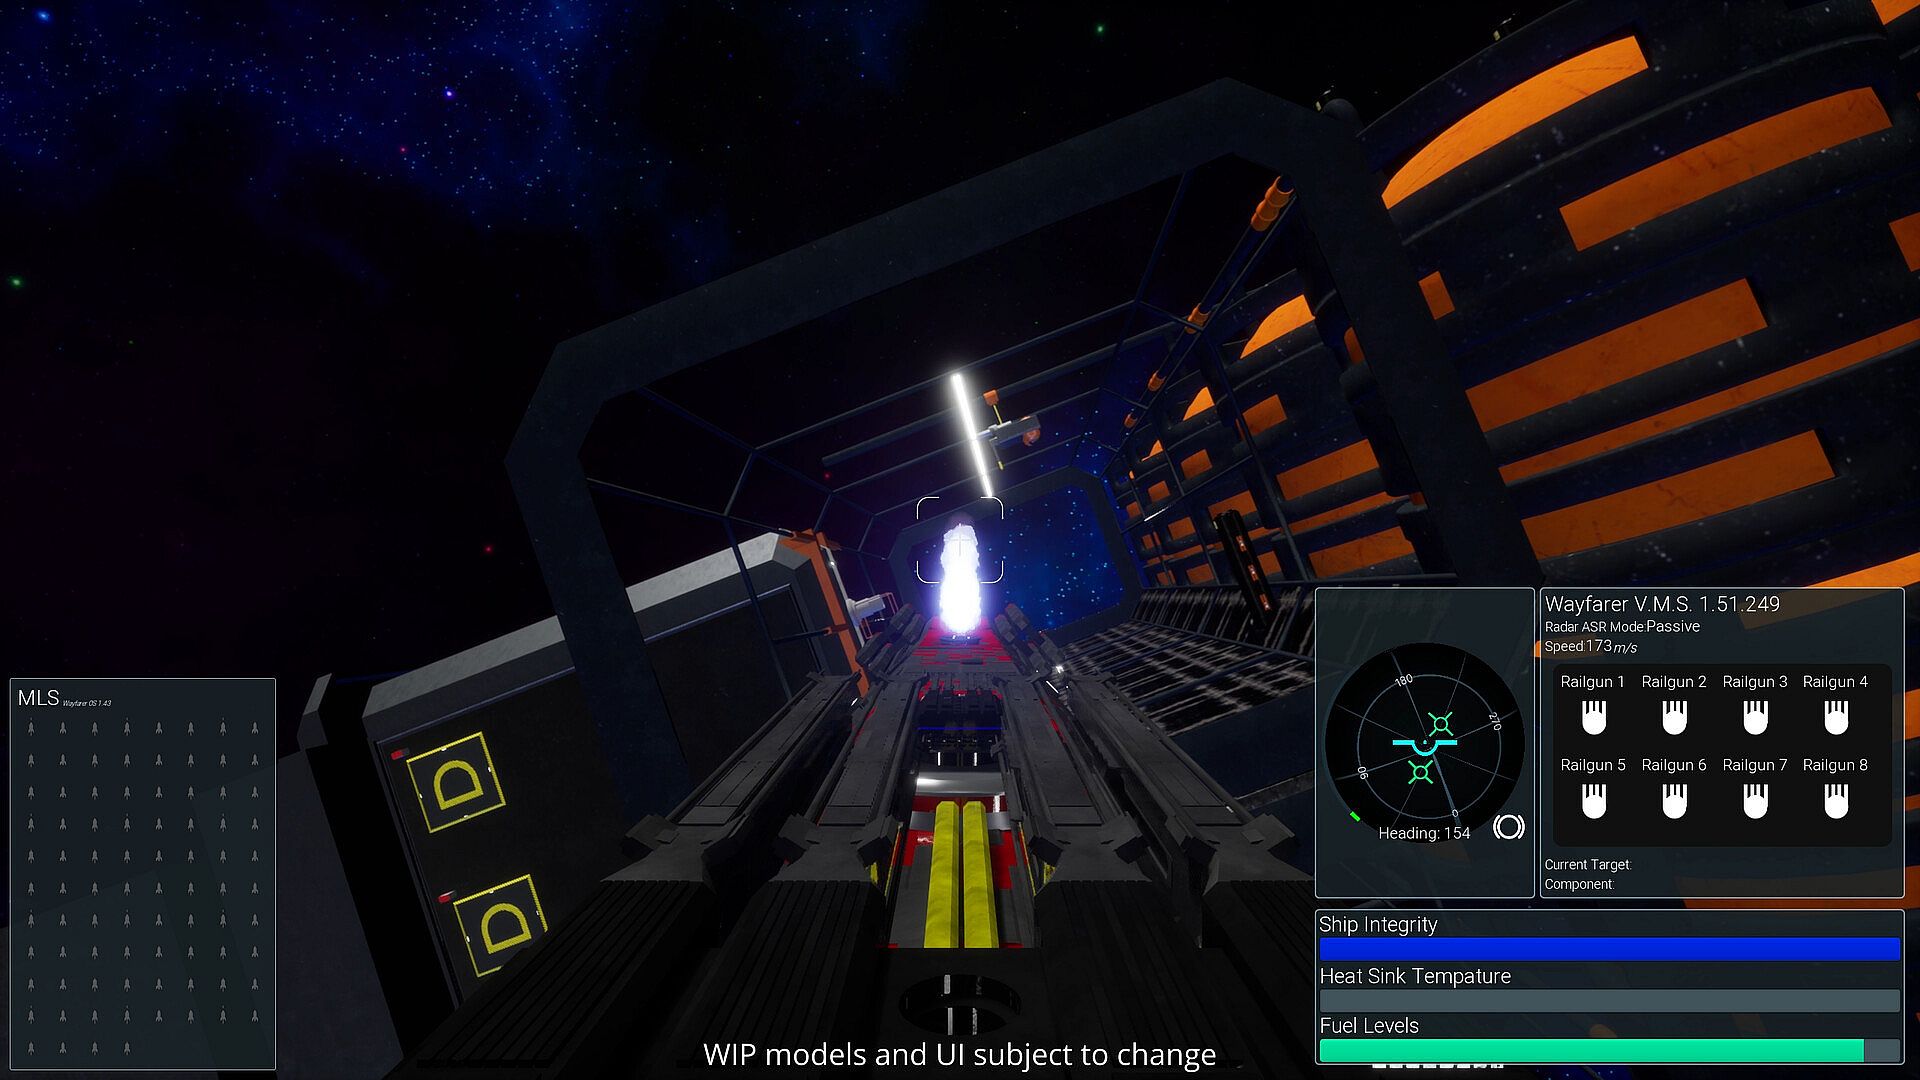
Assuming everything went well, the Wayfarer was to be a proof of concept, an old warship converted into a long-duration pirate hunter. Sneaking in and removing the troublesome pirates like old privateers of the water-bound navies of history. But with so many unknown changes, you've got your work cut out for you. As the OOD, you'll need to manage the crew, supplies, work schedules, and also the Tactical Officer (TAO). Your TAO will handle the specifics of aiming the railguns, loading available missiles, and firing on your command. But, you'll need to assign targets, and plan salvos.
Operations
As the OOD you have to balance the operations, routines, and conditions of the ship and crew both in and out of combat. Below are systems you and the enemy ships will need to balance. Managing personnel, their readiness, their training, taking care of the crew, the ship, and the supplies are not just your purview but your primary duty as the voice of the captain.
Outside of Combat
Heat
Heat is death, you need it off the ship but your heatsink can only hold so much before it starts melting. You'll need to dump heat through your radiators. This will make you a more obvious target, during combat this is a no brainer as you enemy already knows where you are usually, but if you forget to dump your heat before stalking an enemy you may find yourself caught on scopes.
Fuel
Z-pinch fusion is quite efficient compared to older reactors, but it's still very fuel hungry. You'll need to balance your fuel ratios to ensure you are using it as optimally as possible. High ratios will net you more thrust, but worse fuel efficiency while cruising.
Keel
Like ships of old taking damage takes a toll on your crew, supplies, and where the ship was hit. Depending on the compartment hit things can go sideways very quickly. The keel (the main bones of the ship) cab also take damage during combat keeping this in check with maintenance and repair. During combat engineers can't do much to prevent a damaged keel from being a liability, but the station yard at Port Winston can.
Crew
From the galley chefs who keep the crew fed to the doctors and security staff who keep them alive, everyone works together to keep the Wayfarer fighting efficiently. But, every good team needs leadership, your team leads work with their teams to ensure they are committed to their tasks and get whatever they need to fulfill your mission objectives.
Crew Readiness
While approaching an enemy you want your crew to be at battle stations, but leave them there too long and you'll end up with tired, stressed crew who won't be able to fight effectively. Demoralization goes beyond just stress too, frequent losses and battles can lead to the crew being on higher alert even when not at condition 1. Be sure you get them R&R whenever possible.
Engineers
Engineers don't just keep the lights on; they are critical to keeping the ship fighting fit. They reinforce the superstructure when it takes damage, repair critical damage to systems all over the ship, and patch holes. However, moving them into critically damaged sections increases the risk of their death. Keep them alive and working when possible to keep the ship in top shape.
Search and Rescue
SAR teams are vital to not only the longevity of a ship's mission but they also provide critical support to your crew. Rescuing stranded crew who survived being shunted out of the ship, gathering supplies and salvaging ammo and more from enemy wreckage is their primary mission. You will task them with specific jobs but it'll be up to them to complete the work.
Improving/Maintaining Morale
Morale affects many things, from combat readiness to effectiveness. Losing morale is easy comparatively, gaining it back will require you to dedicate efforts to SAR (search and rescue), R&R (rest and recuperation), and even the food served. The best way to improve your crew's morale, though, is to avoid excessive combat, to be decisive in your approach, and take less damage than you deal.
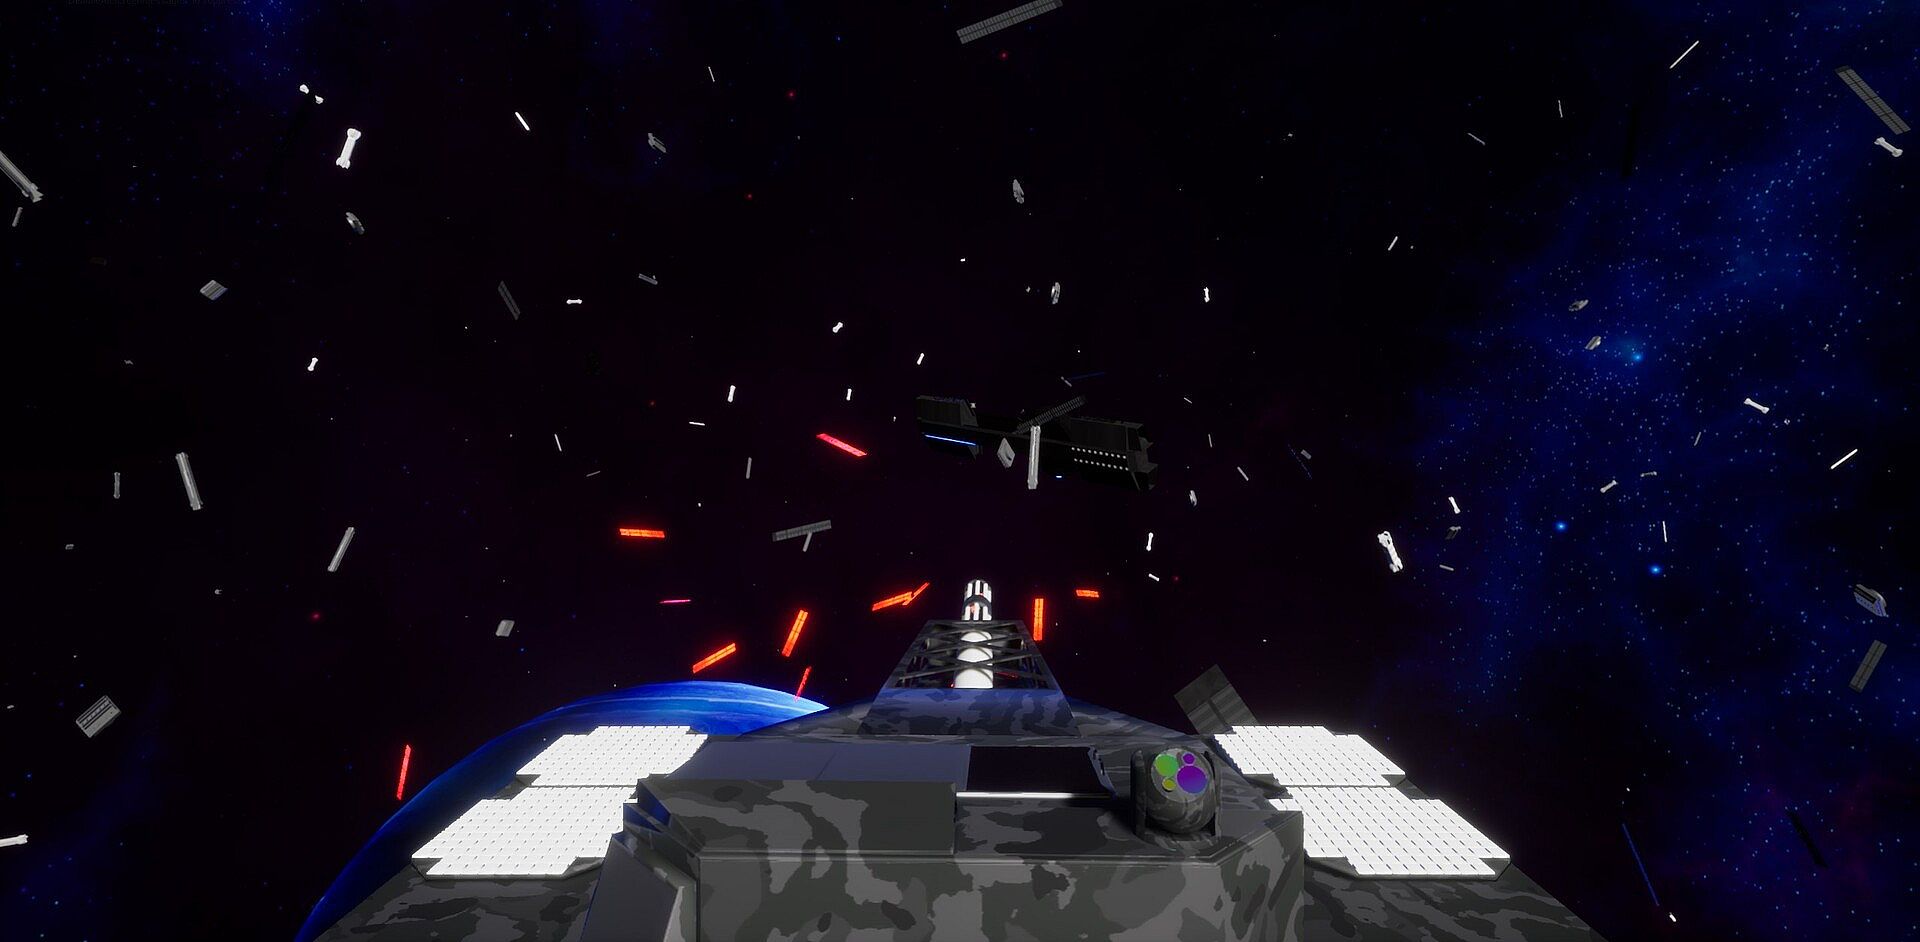
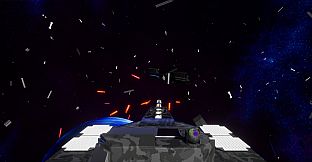
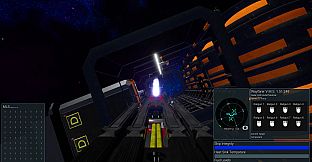
In Combat
Combat comes in two flavors: BVR (Beyond Visual Range) and WVR (Within Visual Range), each with its own intricacies. All combat is devastating, even a single penetrative hit could kill crew, damage systems, or more. Crew deaths affect morale and combat effectiveness as your crew deals with loss. It's not instant, as surviving the fight generally takes priority, but beware, as being reckless can leave lasting scars on the crew's morale. To counter this, you'll have many tools at your disposal as captain.
BVR
To hunt and track an enemy you'll need to remain hidden launching drones, running sensor sweeps, and using passive radar to find and track your enemies. The longer you study them the more you will learn about them, their armament, and where they are headed, but you'll also increase your risk of detection. You'll have the assistance of the SWACS ship Watchtower to help provide you with a better picture of the battlefield.
WVR
Once you've spotted an enemy you can surprise them with fire, but that only works if they haven't also spotted you. It also only works once, after you're detected the enemy will be either hunting for you or running for reinforcements and on much higher alert.
Defensive systems
Defensive systems also come in many flavors under the SSDS (Ship Self-Defense Systems), such as Electronic Warfare (shortened to EW or EWar, depending on whether or not you've played a certain MMO space game), CIWS, Stealth, and MDS (missile defense system). Your job isn't just to keep them stocked with supplies but to also ensure you have as much coverage as possible for the different systems to tackle enemy combatants.
Soft Kill
Stealth
Arguably one of the most important parts of the survivability doctrine, stealth (i.e. don't be detected) comes in many forms, from offensive spoofing/jamming enemy sensors to hide your exact location to more passive thermal camouflage allowing you to blend in to the space around you. Stealth isn't perfect or free, given time your enemy will eventually detect you but, being stealthy enough allows you to get a drop on your enemies. Heat management especially adds an additional layer of complexity to this equation. As you approach your max safe temps should you let out the radiators to release heat or should you keep them in, allowing you to remain more hidden, but risking catastrophic disaster should your heatsink fail.
ECM/ECCM
To distract/defeat enemy missiles, you'll need to employ multiple forms of ECM. Flares, decoys, jamming, and more to help improve your odds. You'll need to not just stoke up on these when resupplying, but also set patterns for release. If you use too much too early on you risk leaving your self in the open. CIWS is great but without quality ECM these systems are going to struggle to get a lock. ECCM is the counter to this helping "burn through" both your jamming and the enemies, good ECM sifts through the different data to try and assess which are good or bad targets and respond appropriately. Key ECCM techniques include frequency agility, power management, and directional antennas you won't need to control these directly but should your control systems take too much damage their effectiveness will be reduced.
Hard Kill
CIWS
Close-in weapons systems come in a variety of flavors as well, many using projectiles, smaller missiles, or even sand cast at high speed. While AMMs are one of the most effective options for keeping enemy missiles at bay, projectile-based CIWS fill a large volume of space quickly and can rapidly switch targets. They make up for accuracy with their sheer amount of ammo and fire rate, to hard-kill enemy missiles.
AMM
Anti-missile missiles also come in several configurations to provide the best possible protection for their layer in the Anti-Ship Missile Defense, ranging from compact, point-defense interceptors to larger, layered deep-defense missiles designed to engage threats at extended ranges. Unlike projectile-based systems that rely on volume of fire, AMMs use advanced seekers, onboard guidance, and proximity or hit-to-kill warheads to precisely track and destroy incoming threats. By engaging enemy missiles farther from the defended asset, they reduce the risk of high speed debris damage and provide multiple engagement opportunities. Their accuracy and controlled intercept geometry compensate for their lower shot volume, enabling a reliable hard-kill capability against high-speed, maneuvering targets.
Both
Sand Casters
While cheap casters are also fast, versatile, and flexible in design, most missiles and torpedoes can be easily foiled by dispersed particles or sand as it is often called. Sand Casters are designed to create temporary defenses against these incoming systems, it provides both a near guaranteed hard kill as well as a non-zero soft kill for further away targets.
Marine Compliment
Your Marines are more than an armed force they are an important part of the crew, they handle simple boarding actions, offensively, defensively, and also for recovery situations. They also handle day-to-day security. The Marines onboard work alongside the ship's Master-at-Arms to handle all ship-side situations, including things like breaking up fights between crew members and security around weapons systems.
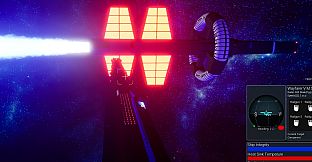
Offensive systems
Weapons systems come in many flavors, from the low-caliber, rapid-firing yet efficient railguns that keep ships safe from larger boarding craft to the high-caliber Gauss spinal mounts that smack ships down with shells that have fuses the size of small ships.
Gauss Turrets
One of the main armaments of the Wayfarer, great at targeting close enemy ships, but their slower traversal rate means they can't be used against faster enemy missiles. But, remove the enemy FCS (fire control system) with well-placed shots, and you improve your own ECM and ECCM strength. (Enemy torpedoes or AMM, on the other hand, won't be as affected by this due to their integrated hardened seekers)
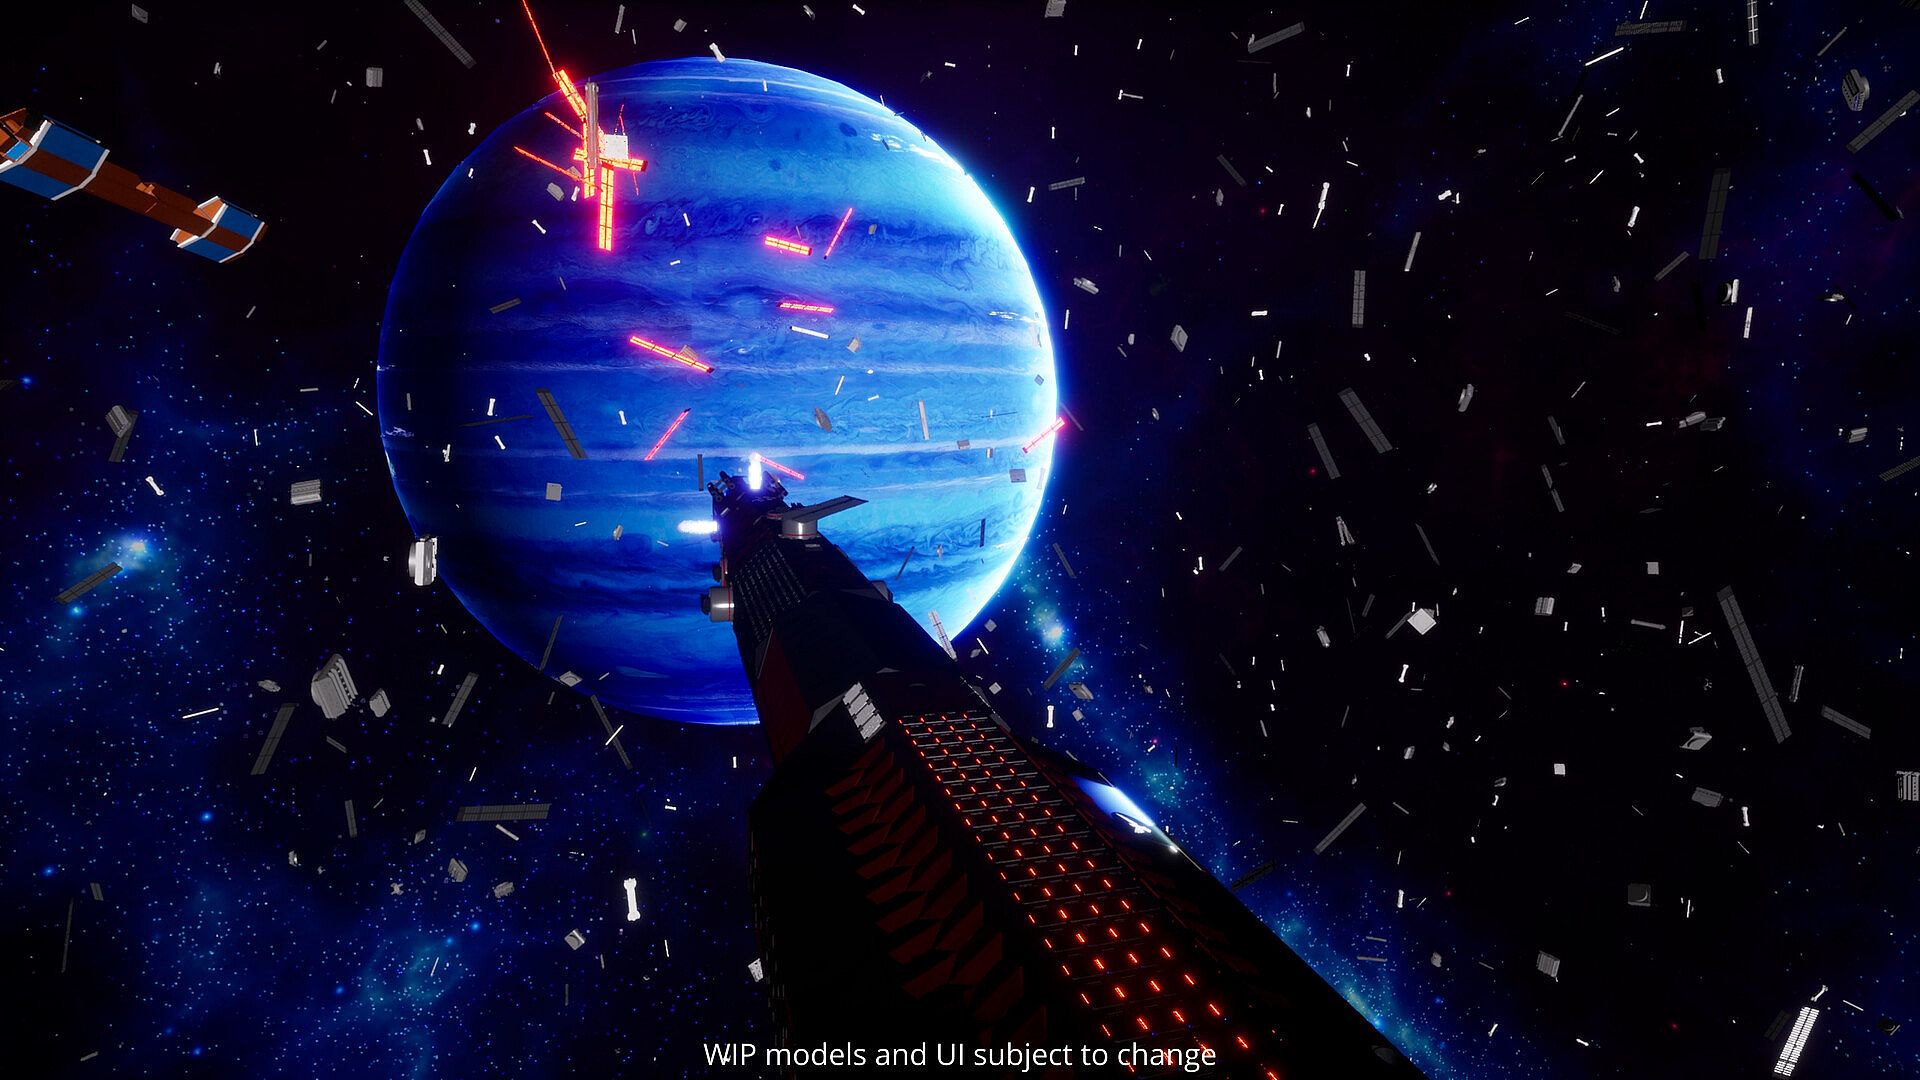
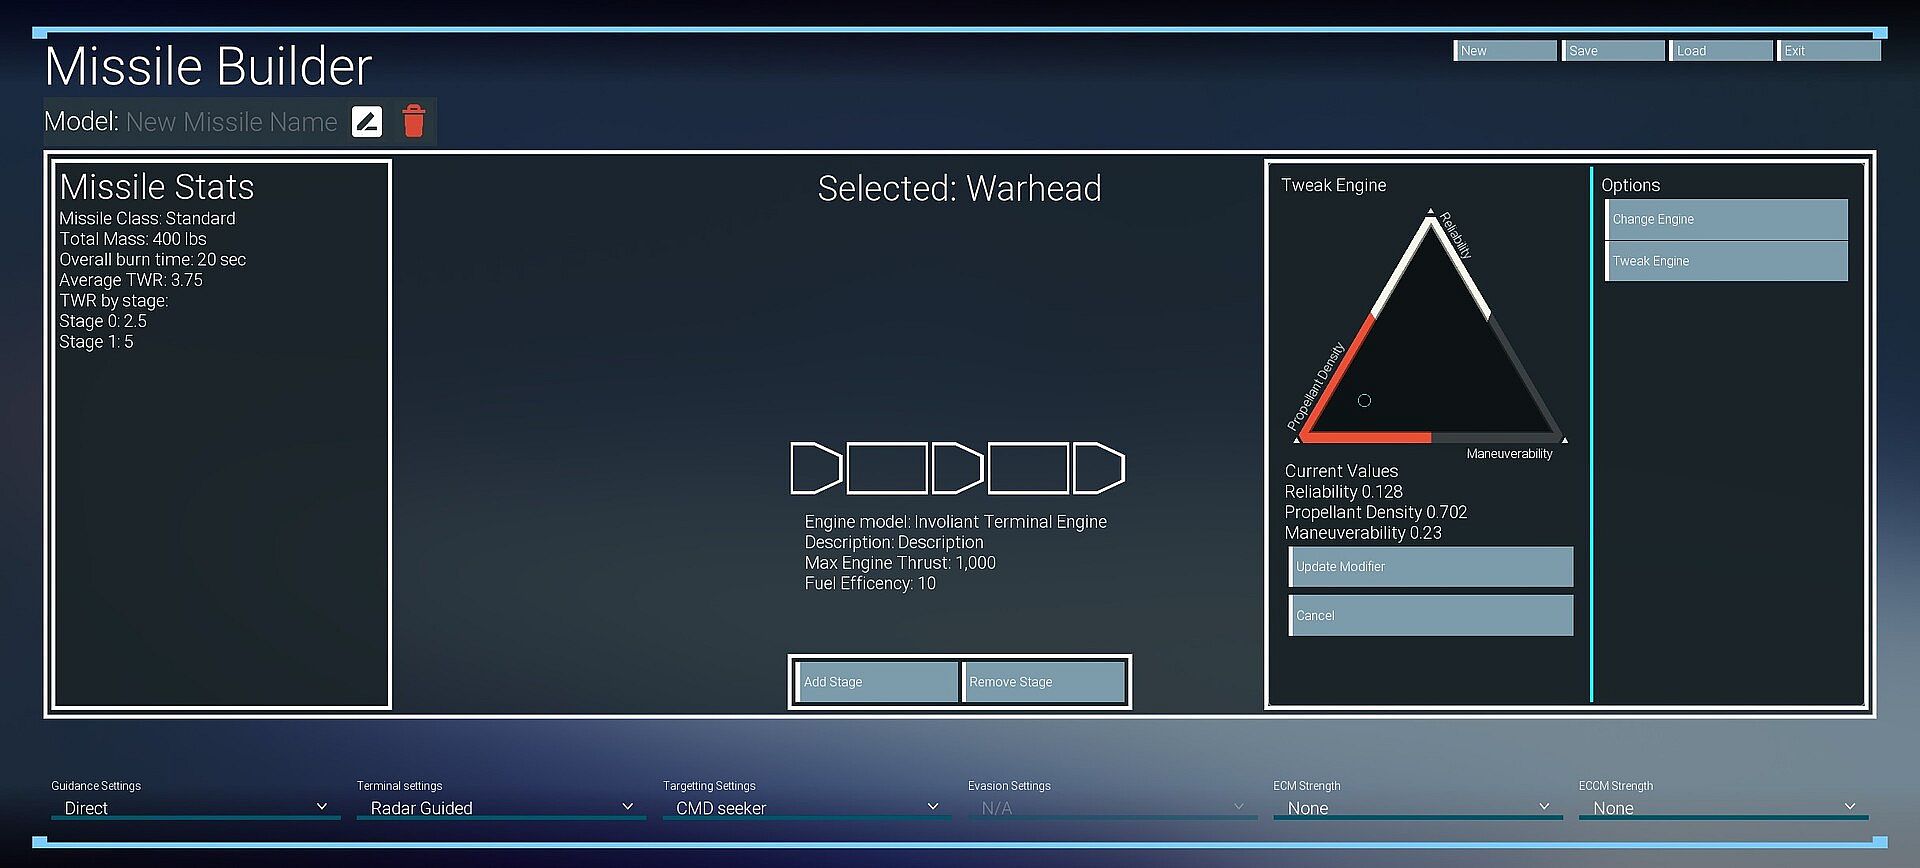
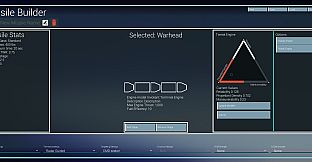
Missiles
One of the best tools in your arsenal: flexible, long range, and capable of shifting to meet a target. Missiles bring many, many advantages to the modern combat landscape. They also have some downsides compared to kinetic rounds: lower penetrative power, easier to counter, and slower. In exchange they are cheap, smarter, and able to course correct to the target.
Torpedoes
Torpedoes are specialized single-stage missiles, with much larger, stealthier, and generally better ECM and ECCM. They carry a lot of fuel to reach their target, burning most of it in the acceleration phase. They are more expensive and harder to produce, but more effective, especially against hardened targets.
Additional Modes
Sandbox
Great for practicing movement, combat mechanics, etc. You can set up enemy fleets to face off against and more.
Tutorial
Teaches the basics without overwhelming you with information overload.
Annihilation
Defeat as many enemies as you can before being destroyed yourself.
Timed-Strike
Battling large fleets is cool, but how fast can you beat that fleet?